It was almost bedtime, but BB just fell asleep for a very late evening nap (probably will extend into overnight bedtime). I wasn't going to waste this precious time so I got PK changed into her PJs and we sat down at the dining room and started doing art.
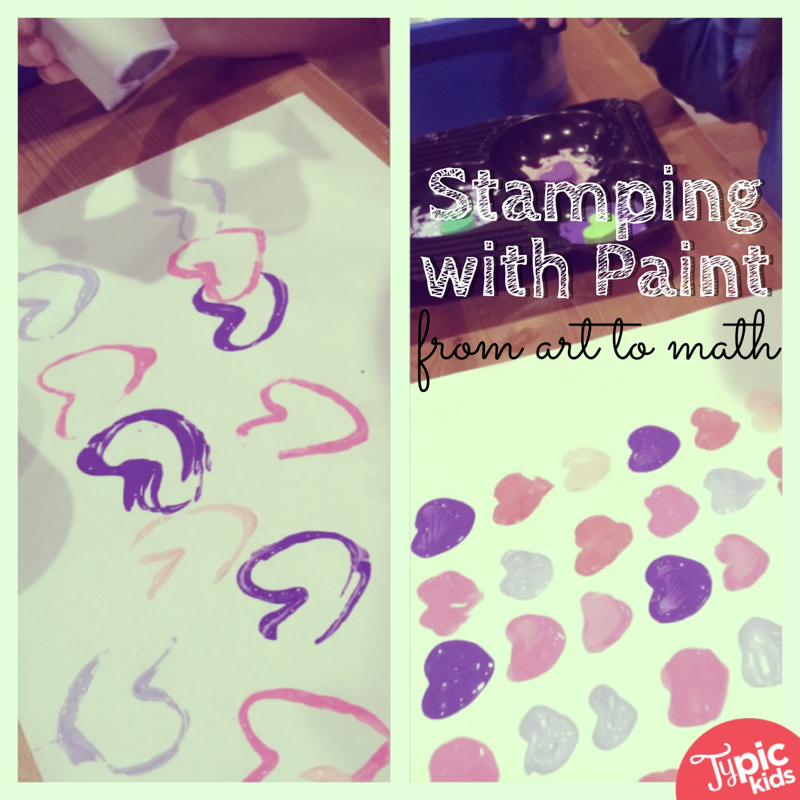
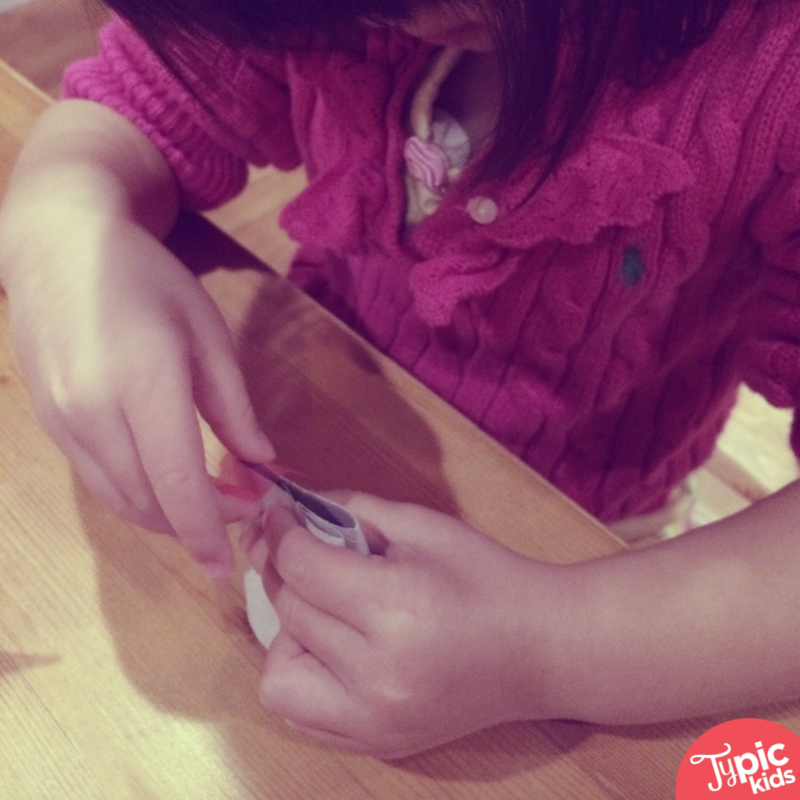
I have been wanting to try these DIY heart-shaped stamps that I read about but I didn't have any toilet rolls to do it. So when I collected two rolls this morning, I knew I have to do this sometime today. And if you follow the instructions on the site, you can make these heart-shaped stamps really easily. Since I only had two rolls, I decided to cut each one into two and have four shorter rolls. I was still able to make the heart-shaped stamps easily with tape.
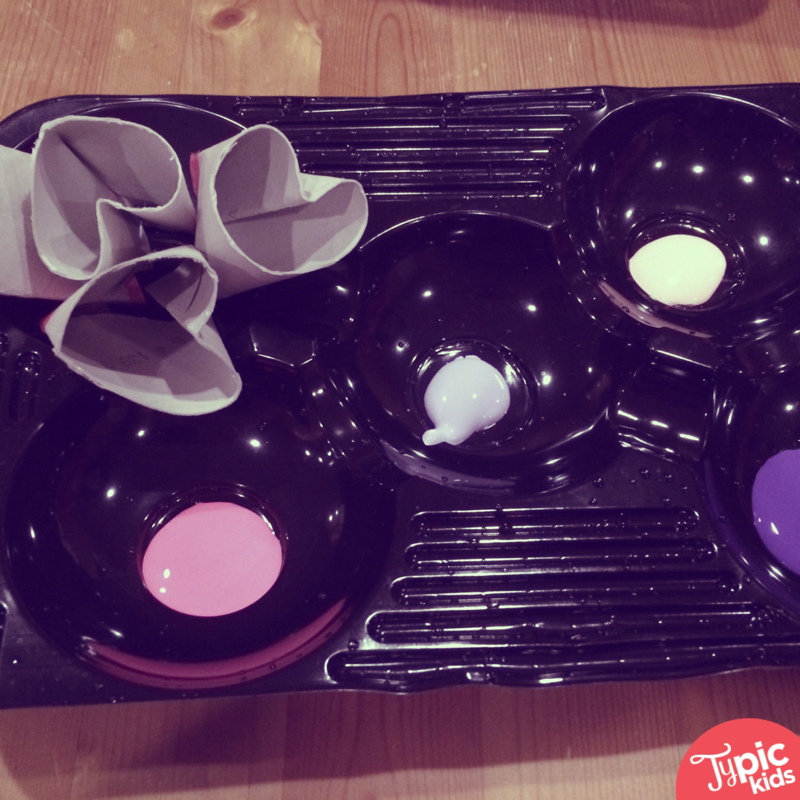
It was so easy that PK could make the stamps by herself after seeing me demonstrated it once. I had this black plastic tray that was used to hold pears. Instead of recycling it, I used it for the acrylic paint. You can use tempera paint too, but I only have PK's favorite colors in acrylic paint
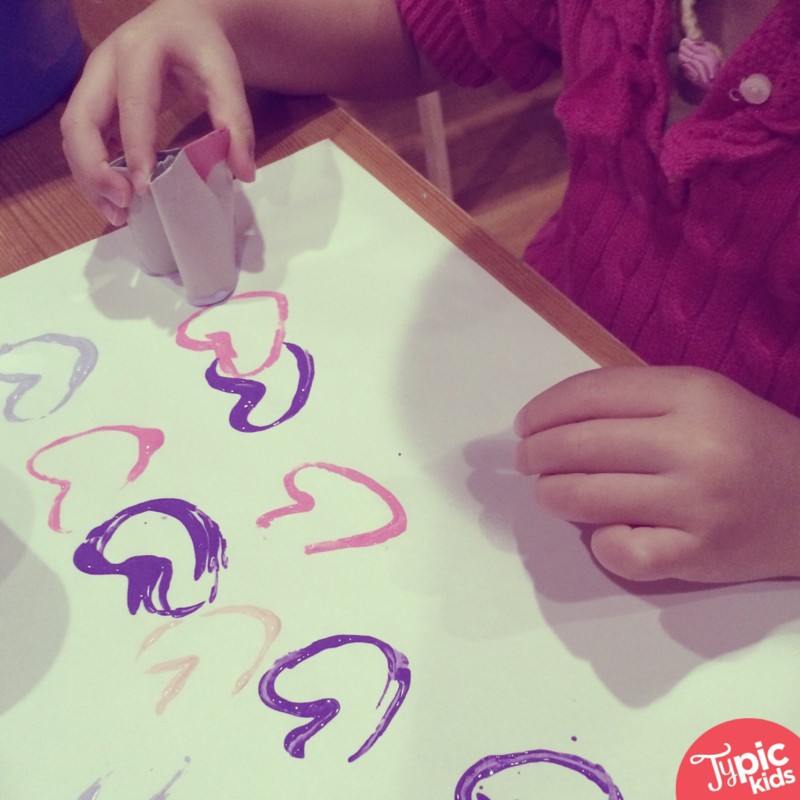
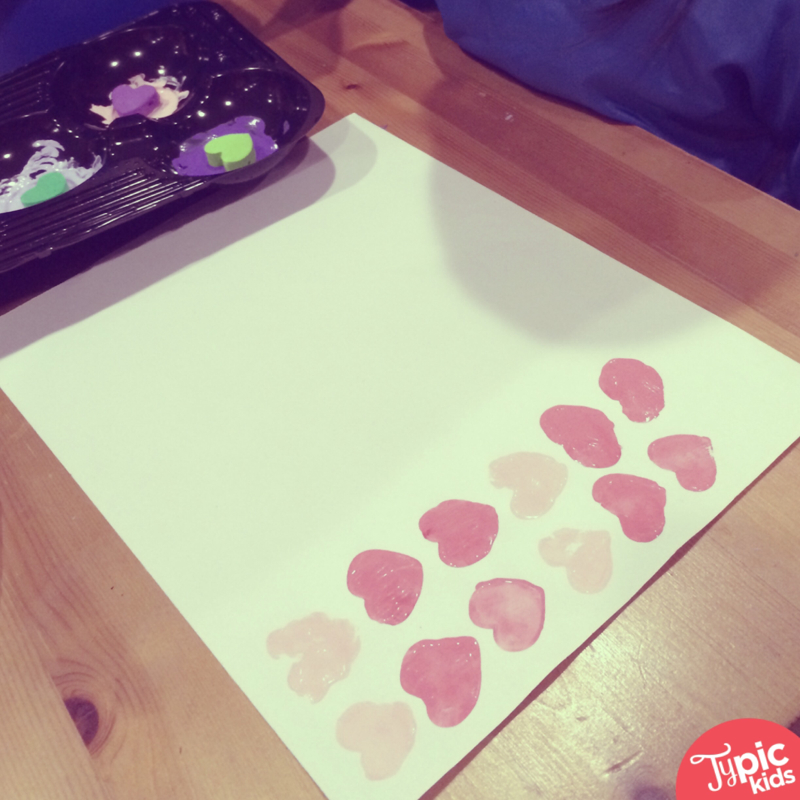
And then we started stamping randomly. The structure of the stamp is not flat, so some of the prints didn't come off as a complete heart. This frustrates the sleepy girl very much. If you don't have a perfectionist (or sleepy, thus grumpy) artist at home, this shouldn't be a big problem. But if you do, warn them about it and suggest linking the hearts.
After filling up the entire paper with heart prints, we had leftover paint, so I decided to try something different.
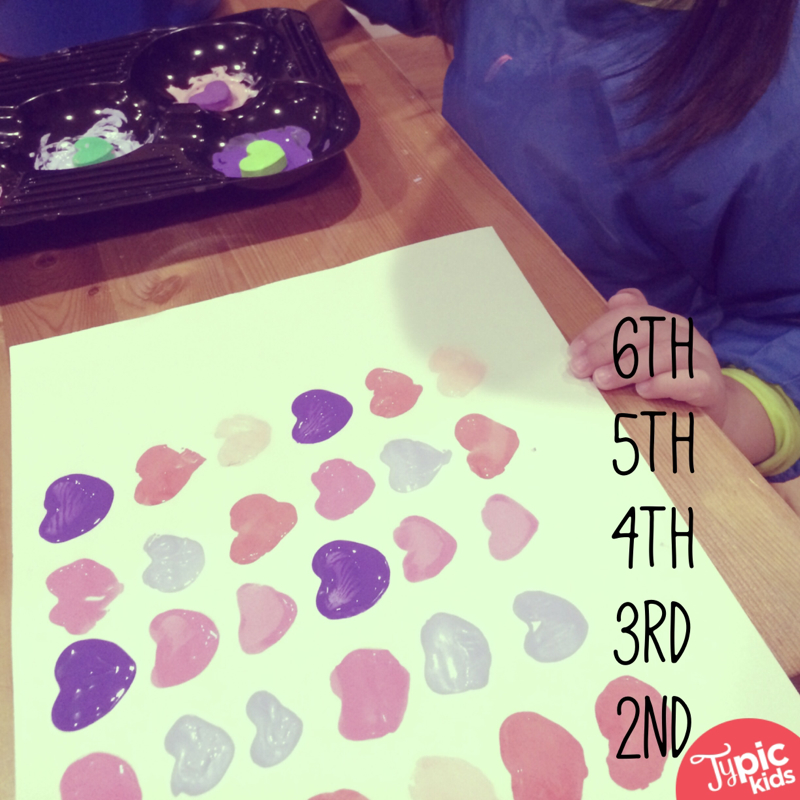
I got some foam beads that were in the shape of the heart and I thought they could be used for stamping too. The foam skids a little on the wet paint so some prints are not perfect. This time, instead of randomly stamping, I made a pattern in a column and have PK follow my pattern in the next column.
So this is where math comes in, because pattern is all about math (and art).
In my first column, I did a ABB pattern. And PK repeated the same pattern using the same colors in the second row. This is easy.
In the third row, I showed her how the same pattern can be formed using different colors. This was also when I told her that this pattern can be named as ABB pattern and we can use letters to represent the colors. Each letter can be a different color in each column. (Isn't this just like algebra?) So, she did the same ABB pattern in another set of different colors in the fourth row. She was very proud to change the colors but still following the same pattern!
In the fifth row, I asked her to create a new pattern so that I can follow. With some suggestions from me, she created a ABC pattern. And I followed the pattern in different colors.
As we proceed from here, PK was very excited to make a new (and special) pattern each time. Somehow, she was no longer tired and grumpy!
We went on to do a AAB pattern that is not shown here. Then we used a new piece of paper and I increased the number of prints to eight. So PK happily used four different colors and made the first column. This is a ABCD pattern. If the child already grasps the whole concept of naming the pattern, she should be able to tell you what is the name of her pattern after she did it.
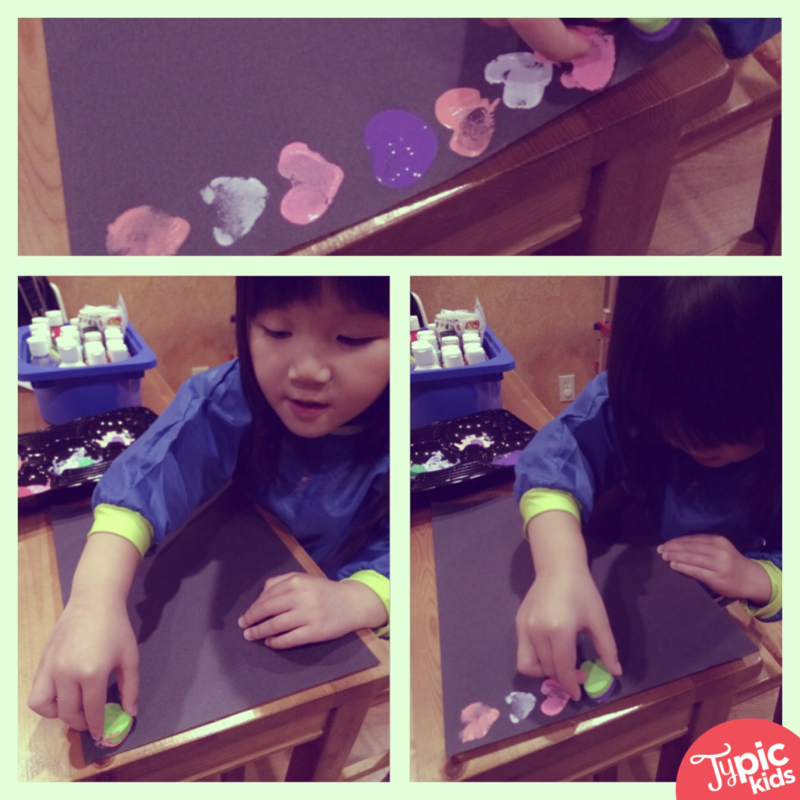
With every new pattern she made, I followed her pattern and made the next column in different colors.
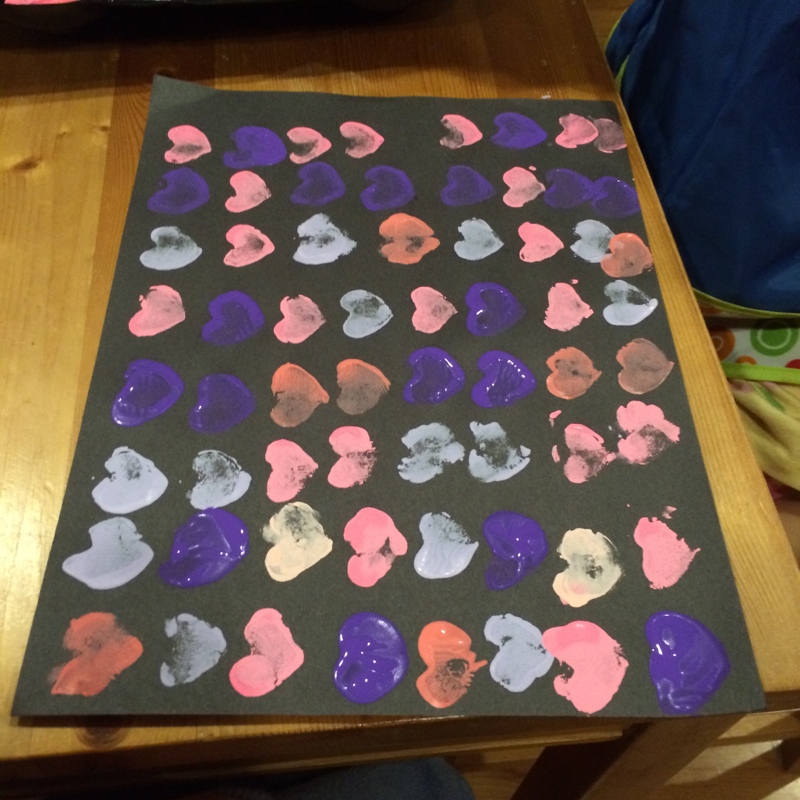
So with eight prints, we did:
- ABCD
- AABB
- ABAC (this is PK's favorite! She finds it challenging!)
- ABAA
This is how our paper looks like in the end.
We totally enjoyed this activity and I am pleased that we progressed from art to math with very much the same materials. And most importantly, PK loves it. I am going to do patterns with the APG kids next week so it's going to be the same concept but delivered slightly differently because the audience is bigger. Stay tuned on what we do!
*Hint: If time permits (and the audience cooperates), we might explore Fibonacci sequence!
